At the RSGB Convention I went to a well attended talk by Mike Richards, G4WNC on Ham Radio and the Raspberry Pi (RPi). He started by asking how many people had a RPi…about two thirds of the room put up their hand. He then asked how many people had a RPi actually doing something…just a couple of hands went up!
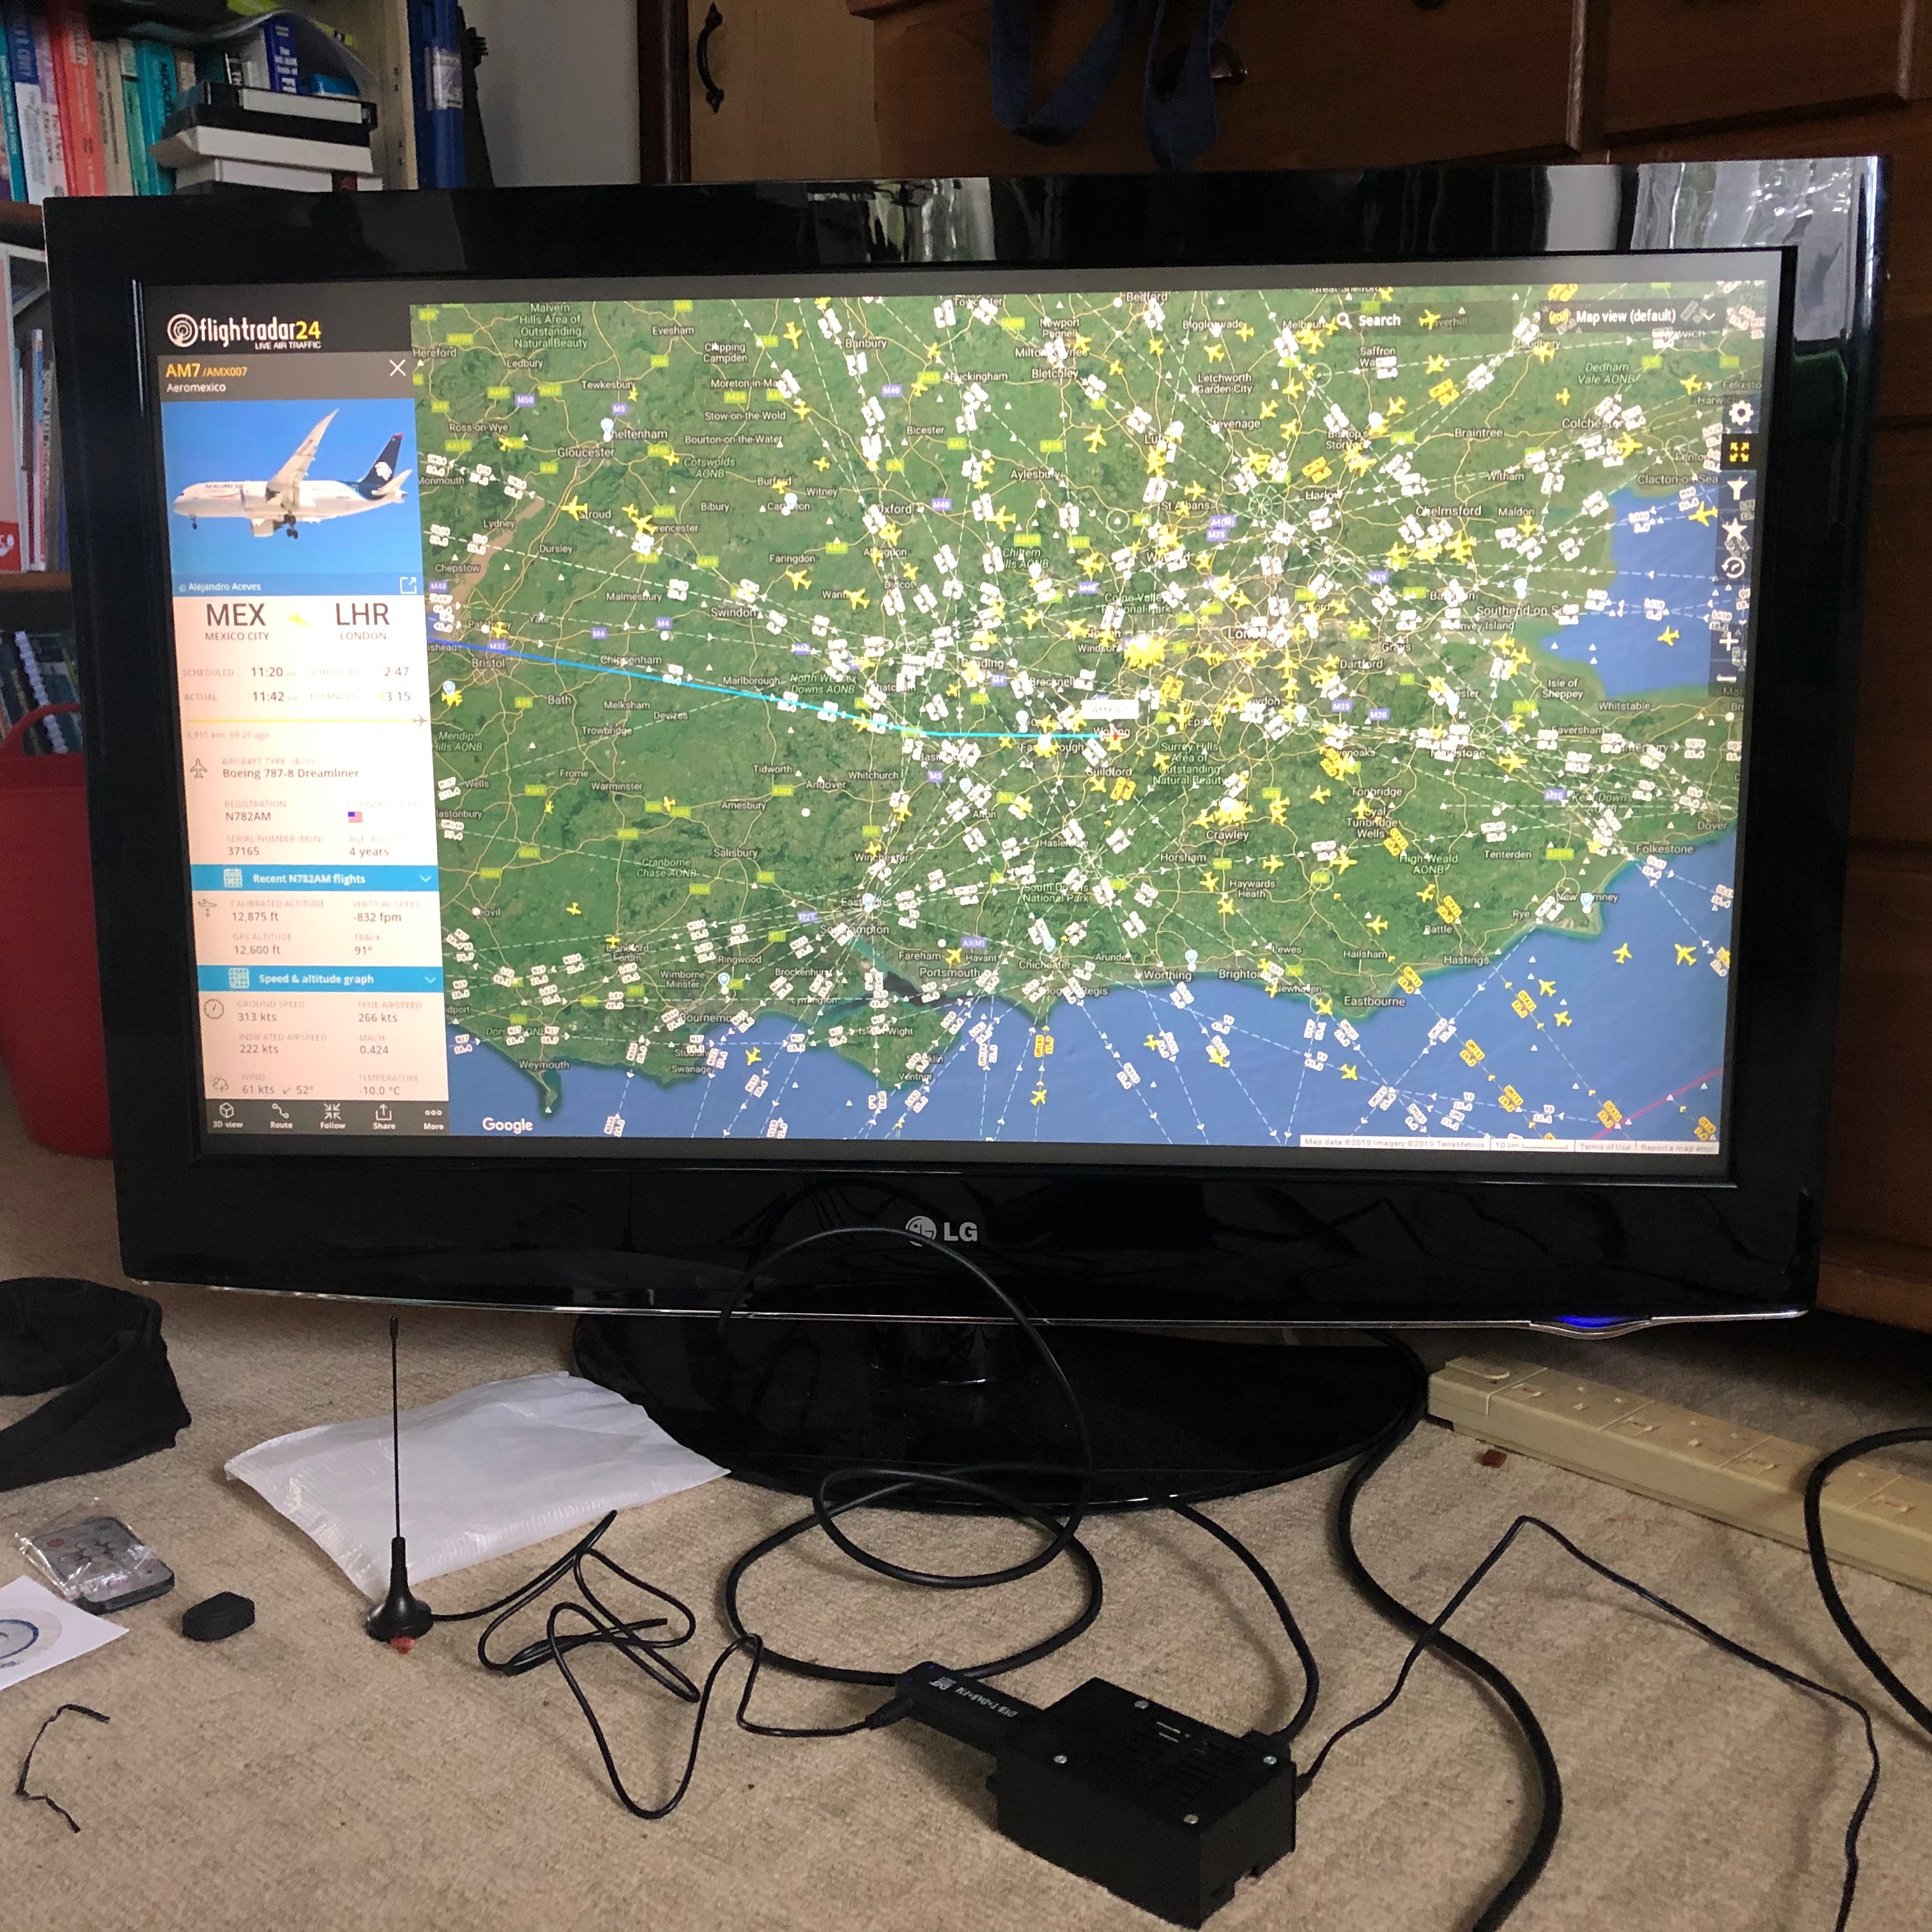
I was one of those simply using my RPi as a paper weight so, with a day stuck at home feeling ill, I decided to fix that by building a Flight Radar set up using an old TV, my (dusty) Raspberry Pi and an RTL-SDR (DVB-T) dongle.
You can use the Flight Radar website for free with their basic account but much of the functionality is locked out and you have to have advertising banners. They do subscription packages to remove adds and unlock the features starting from $10 a year up to a whopping $500 a year but read on…you can have it all for free.
Basically the way it works is like this. Aircraft are fitted with GPS and they use this to calculate the position, velocity and a timestamp and they send this information periodically to air traffic control ground stations using Automatic Dependent Surveillance – Broadcast (ADS-B) on a frequency around 1090Mhz. Flight Radar 24 relies on members of the public receiving this information across the globe and sending it to them. So, to get free, full access to all their website features all you have to do is set up an SDR to receive the data transmissions and send the info to them in near real time.
To do this we can use a cheap RPi connected to the internet and a cheap RTL-SDR dongle. Once you’ve done this you can access the full Flight Radar 24 features from anywhere but, why not use the RPi to display this as well?
So how do you set this up?
First things first you have to set up an account at flightradar24.com…select the (free) basic package.
After updating my RPi3 that hadn’t been used for about 2 years I installed drivers for the RTL-SDR USB dongle, simply running the following commands:
sudo apt-get install librtlsdr-dev
sudo apt-get install libusb-1.0-0-dev
I plugged in my dongle…I actually have a DVB-T type…and then ran ‘Display Message’ to check the RPi had picked up the dongle as an RTL2838 device:
pi@raspberrypi:~ $ dmesg
…
[ 2.217831] usb 1-1.2: New USB device found, idVendor=0bda, idProduct=2838
[ 2.217856] usb 1-1.2: New USB device strings: Mfr=1, Product=2, SerialNumber=3
[ 2.217872] usb 1-1.2: Product: RTL2838UHIDIR
[ 2.217882] usb 1-1.2: Manufacturer: Realtek
[ 2.217902] usb 1-1.2: SerialNumber: 00000001
…
Next I installed the flight Radar software that will enable the data you receive from the aircraft to be uploaded to a remote database on the internet.
pi@raspberrypi:~ $ sudo bash -c “$(wget -O – http://repo.feed.flightradar24.com/install_fr24_rpi.sh)”. At the end of the installation process it takes you through some configuration questions. There’s a great guide to this here: https://pimylifeup.com/raspberry-pi-flightradar24/
And that was basically it. The FlightRadar software handles reading the telemetry from your SDR dongle and sending it via the internet to the centralised database. The next time I logged into www.flightradar24.com I found I’d been upgraded to the $500 Business package for free and could see statistics of the data my system had uploaded. The idea is that you leave this running 24/7, preferably with an external aerial with good 360 degree visibility of the sky.
Next I’m going to look at running a 2nd RTL-SDR dongle and an SDR program so that I can add in real airband radio traffic too.